
Unlock Your Inking Potential: My Top 3 Techniques for Inktober
About Inktober
Inktober is just around the corner, and I can't wait to dive into a month of creativity and inking challenges. Whether you're an Inktober veteran or a newbie, this blog post is for you.
For those who might be wondering, Inktober is an annual art challenge where artists around the world create an ink drawing every day throughout October. It's a fantastic opportunity to hone your inking skills and push your creative boundaries.
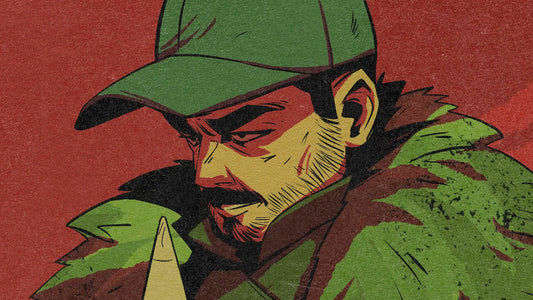
And if you really want to take your inking to the next level, check out my LP Inking Brush Pack. All the examples you see here were done with those same brushes, so if you want to follow along get the set here.
My Top Three Inking Techniques:
As I've been gearing up for Inktober, I've been experimenting with various inking techniques. Today, I'm excited to share my top three favorites with you.
Now, I enjoy both inking on paper and digitally, but doing it on the computer is by far my favourite way. The techniques I'm gonna share with you can be done in both mediums so you can take the info and apply it wherever you feel more comfortable.
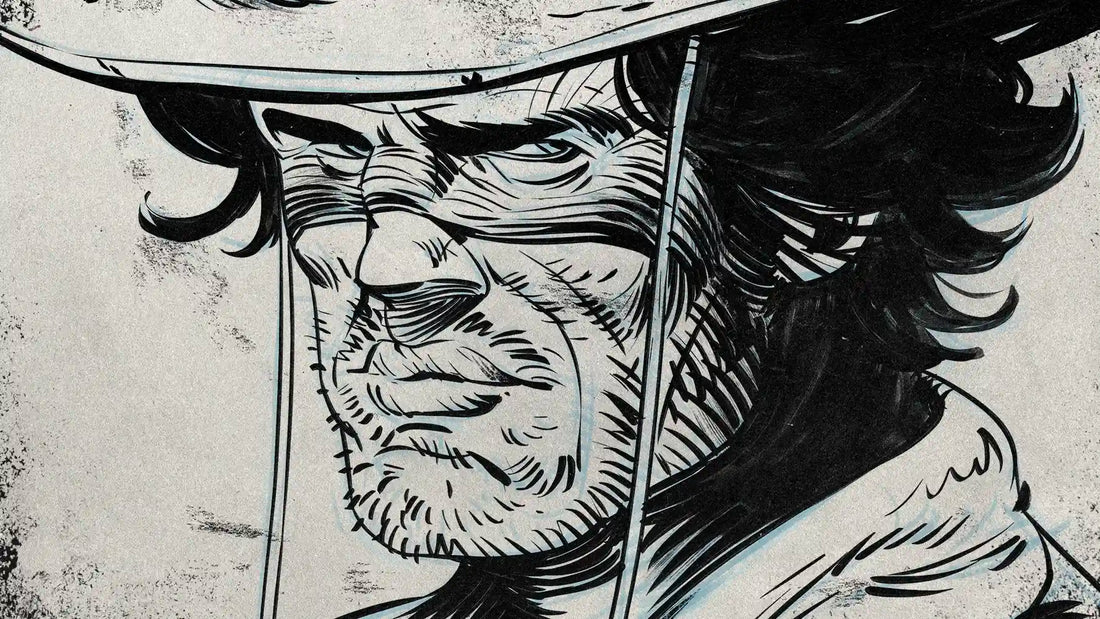
1. Hatching and Crosshatching:

These techniques are incredibly versatile and can be used to convey different tones and moods in your drawings.
The key to crosshatching is to use lines that reinforce the direction of the light or the form. So by shading your drawing you are creating a more "3D" feel for it. If you want to learn more about Line Art and how to improve it, check this blog post where I explain 3 tips to immediately improve your Line Art.
Crosshatching is what I would call your "default" technique for inking. It is where most of us started, and even though the technique is quite versatile and powerful it would be a shame to stop there. Let's check some of my other favourite techniques.
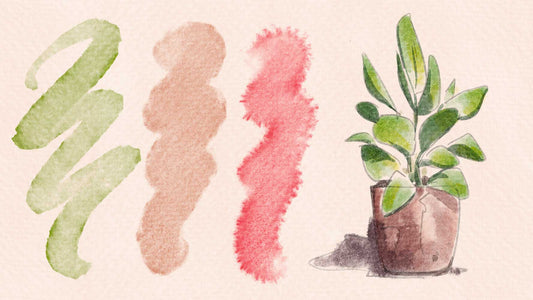
2. Ink Washes:

Ink washes are a beautiful way to add depth and dimension to your inking work. By diluting ink with water, you can achieve a wide range of tones and create stunning gradients.
Of course, you don't have to do this process traditionally. In the example above I'm using some of my Inking brushes that have a more watery texture to achieve that "diluted" effect.
What I like about the washes is that they are much faster to do than the crosshatching and you can achieve an even more three-dimensional look.
3. Negative Inking:
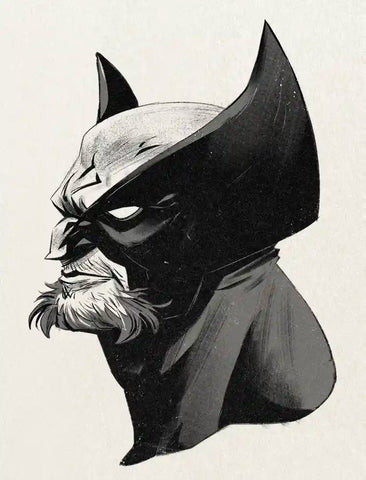
Now, for something a bit unique – negative inking. Not sure what the real name of this technique is, so it is what I'm calling it.
I came about this technique studying the work of contemporary artists like Matteo Scalera and Jorge Jimenez.
The technique consists on filling areas of your drawing with black, but instead of creating the details while you are inking, you carve the details out of the black.
You can achieve this by painting with white guache over your black, or even more easily, by erasing your inks if you are working digitally.
This one is currently my favourite workflow because it gives me cleaner results that are as fast as the washes and more three-dimensional than the hatching.
Final thoughts about Inking Techniques
With these three fantastic inking techniques in your arsenal, you're well-prepared to take on the Inktober challenge. Whether you prefer the classic elegance of hatching and crosshatching, the subtle beauty of ink washes, or the creative freedom of negative inking, the choice is yours.
Don’t miss out!

Haven't seen my LP Inking Brushes? Get them and do Inktober in-style.

1 comment
Best brushes ever