Mastering Your Art with LP Inking Brushes: A Comprehensive Guide
Hey there artists! If you just got my LP Inking Brushes, first of all, a massive THANK YOU for choosing them.
And if you are reading this simply to see what the brushes have to offer, welcome, and I hope that by the end you will know if these brushes are the right fit for you.
If you like the brushes make sure to leave a review. It will take you only a few seconds and it will help me and other artists know what you think about your new brushes.
Getting to Know Your Brushes
When you got your hands on the LP Inking Brushes, depending on your software of choice you received a bundle of brushes.
Additionally, you'll find a bonus PDF guide for those who prefer written instructions.
Brush Basics
Now, let's delve into the heart of the matter: the brushes themselves. The LP Inking Brushes are divided into several sections, each with a unique purpose. Here's a quick overview:
Nibs
These brushes are ideal for detailed work, with minimal texture. Think of them a collection of pens and inking nibs. These brushes are meant to be used for drawing or hatching, that means that they work best when used in small sizes.

Round Inkers
These versatile brushes are excellent for achieving traditional-style techniques. Since they are the most versatile brushes in the pack, you can use them for everything. Even sketching and texturing.

Flat Inkers
Perfect for filling up big areas of ink and creating dry brush effects, adding a touch of texture to your artwork. I use them often for shading. I wouldn’t recommend using this ones for drawing or regular inking.

Washes
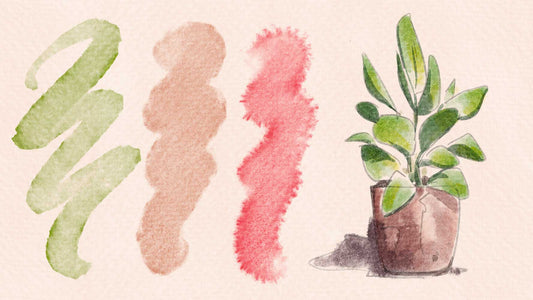
Designed for creating various washes and gradients in your illustrations. They are created with the purpose of filling up areas with diluted inking.

Textures
A collection of brushes that add traditional textures and stains to your artwork, perfect for creating unique effects and making your digital work feel even more traditional.

Smudgers
These brushes are great for blending and smudging ink, think of them as adding water to your inks.

In the following sections, we will put those brushes into practice so you can follow along and start creating some awesome art.
Hands-on Practice
Let’s get started with our comprehensive guide on how to make the most out of your LP inking brushes. In this tutorial, we'll walk you through the process of creating an illustration using LP inking brushes, from the initial sketch to adding intricate details.
Sketching Your Idea:
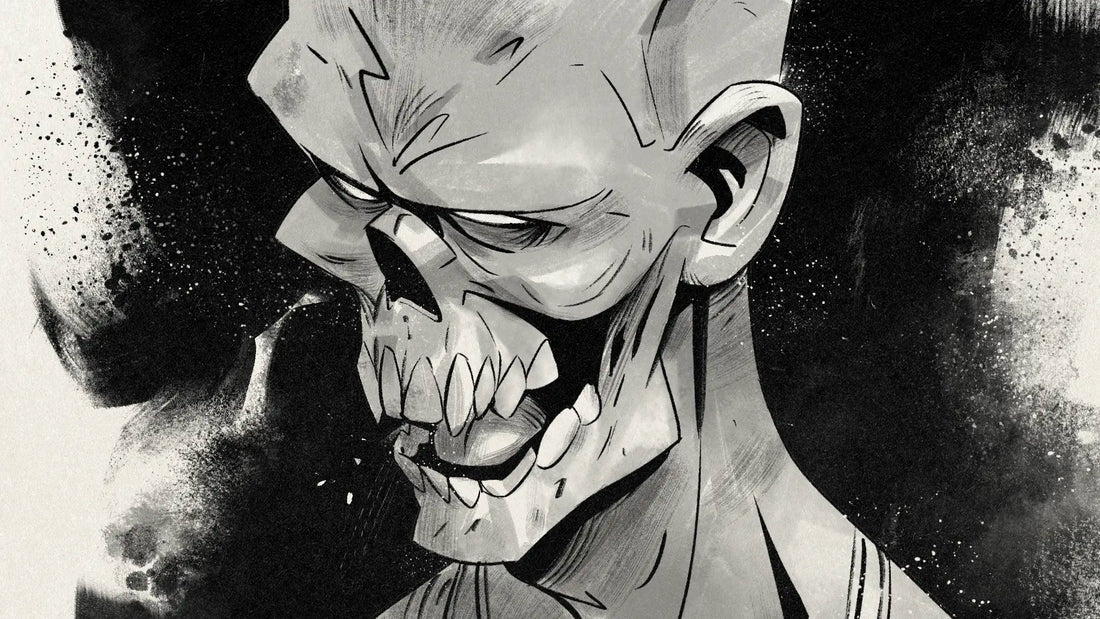
To kick things off, start with a rough sketch of your illustration. In the tutorial, I chose a character resembling a zombie-ish monster. Sketching something like this allows me to play more with textures and lets me be more playful with the inking.

Brushes Used: LP Noise Inker.
Refining the Sketch:
Once you have your rough sketch, it's time to refine it. I recommend duplicating the initial sketch layer and using an eraser to clean up and make improvements rather than simply lowering the opacity and starting all over again.

Brushes Used: LP Noise Inker.
Starting the Inking Process:
When it comes to inking, consistency in style is key. Stick to a single brush for the primary inking process. Remember to vary line thickness to add depth and visual interest to your artwork. Check out my Line Art blog post to improve your line quality.

Brushes Used: LP Nib Rusty.
Adding Texture with Hatching:
Texture plays a crucial role in bringing your artwork to life. Consider using hatching techniques to add texture to specific areas of your character. Remember to make the hatching flow with the shapes of your character. Don’t make flat lines if your character is round.

Brushes Used: LP Fine Chisel.
Background and Composition:
To make your character stand out, you can create an interesting background. You don’t have to always do it, but it can really help. There is not much science to it, just have some fun and paint some abstract shapes behind your character. This not only adds visual interest but also directs the viewer's attention to the character.

Brushes Used: LP Flat Master, LP Flat Knife, LP Wash Stain, LP Ink Spray, and many more.
Shading and Additional Details:
Experiment with different shading techniques to enhance the three-dimensional appearance of your character. There is no one single way of doing this. Experiment with different brushes to achieve a style that resonates with you and your subject matter.

Brush Used: LP Dry Hairy.
Creating a Wash Effect:
In my case I decided for a more traditional ink wash look, you can use the LP inking brushes. You can of course use the wash brushes to create this effect, but my favourite way of doing it is by using an opaque brush on a separate layer with reduced opacity. And repeating the process however many times I want “wash passes” in my drawing. This technique allows for controlled shading and a layered, watercolor-like appearance.

Brushes Used: LP Sable, LP Flat Knife.
Pro Tips and Tricks
Before we wrap up, here are a few pro tips to help you make the most of your LP Inking Brushes:
- Adjust the canvas size to suit your needs, but generally, working with larger canvases (e.g., 2000x2000 pixels) is recommended for full brush potential.
- Experiment with brush opacity and flow settings to fine-tune the effect you desire. Check out my Inking Techniques blog post to find more information about this.
- Remember that the brushes are just as good as the artist using them. Learn the fundamentals of Line Art in my other blog and continue challenging and growing as an artist every day.
- Explore the included textures to add depth and realism to your artwork.
- Don't forget to have fun! The best way to master these brushes is by using them regularly and experimenting with different styles.
In conclusion, the LP Inking Brushes offer a world of creative possibilities. Whether you're a seasoned artist or just starting, these brushes can elevate your inking game and help you achieve the artistic vision you desire.
If you have any questions or run into issues, feel free to reach out to me at lucas@digitalpaintingmaster.com. Your feedback and experiences with these brushes are invaluable and can help improve future updates.
Thank you for choosing LP Inking Brushes!

PS: If you enjoy the brushes please take a second to leave a review, it will help me and other artists to know what you like about your new brushes.


1 comment
I was skeptical about these brushes but I’m so grateful for them. I love the look it gives you when you mix the dry and wet to get that Jorge Jimenez style of art which I love so much. I would recommend this to anyone who loves his style and wants to take their digital art to a new level.